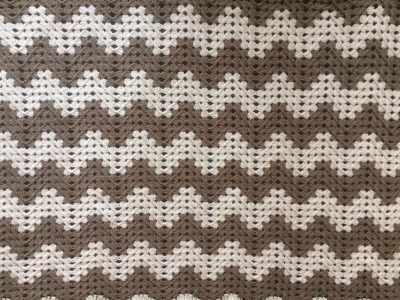
I’ve always loved the Chevron pattern. I have made two crochet blankets in a chevron pattern, and now I have also made a chevron patchwork blanket.


This blanket was suppose to be for our youngest Grandson. He was born November 2016. I made it in pure New Zealand wool, but it ended up being so heavy. I would have to pay a fortune in postage to get it to London, where he lives. My eldest daughter now uses this blanket at work. On a cold day it is perfect to wrap around her legs and keep her toastie warm.


This was my next attempt, and I am really pleased with how it turned out. I made it out of acrylic, which is really great for wash and wear. It was also much lighter and cheaper for postage 🙂
Look how snuggly this blanket turned out! Little grandson is tucked up nice and warm in his Nana made blankie.
Now onto sewing Chevron. It is actually a whole lot easier than it looks. In fact with patchwork, there are often little secrets to the sewing that make the whole process a lot easier than you think. Thank goodness for that, because, by nature I am a rather impatient person, and to have shortcuts really suits my personality.
Here is the process I used to create my quilt.


To finish my quilt, I did multiple rows of stitching on the outside border. I then sewed the binding on and it was complete. I love it and it has become my quilt that is used the most. I can just throw it in the washer and it comes out great. A very practical quilt that is pretty to look at as well 🙂
I hope you can follow my instructions and create your own Chevron Quilt. You can finish it off to your own liking. Please post a photo of yours in the comments below. I would love to see what you create.


